
Tutorial
Planning a four lane Ninco club track. Part 3
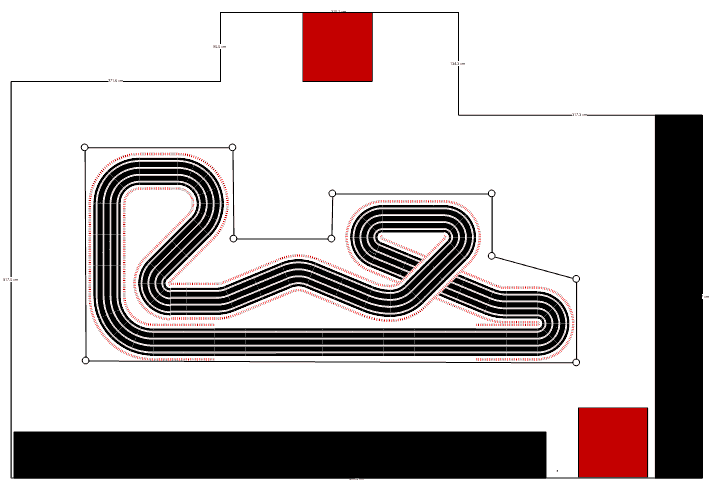
So here we have a first draft of our track layout.
Adding further details
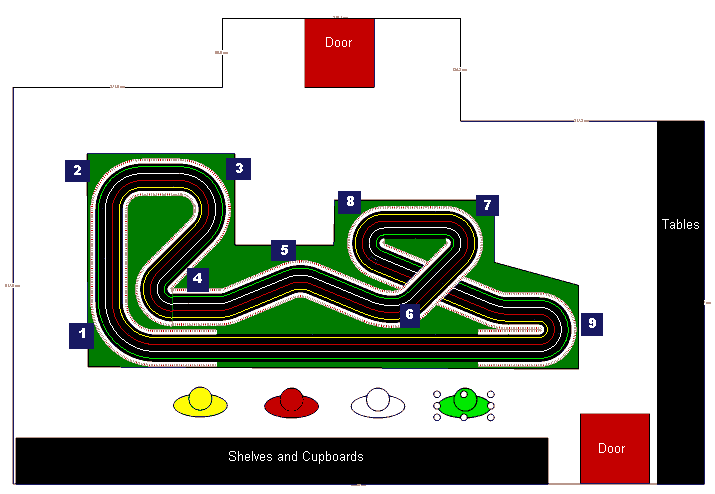
Now we're going to add a table, some text, lane colours and driver positions.
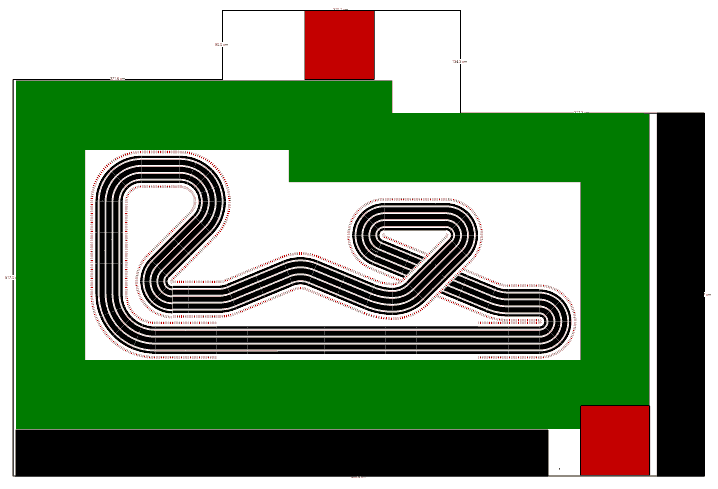
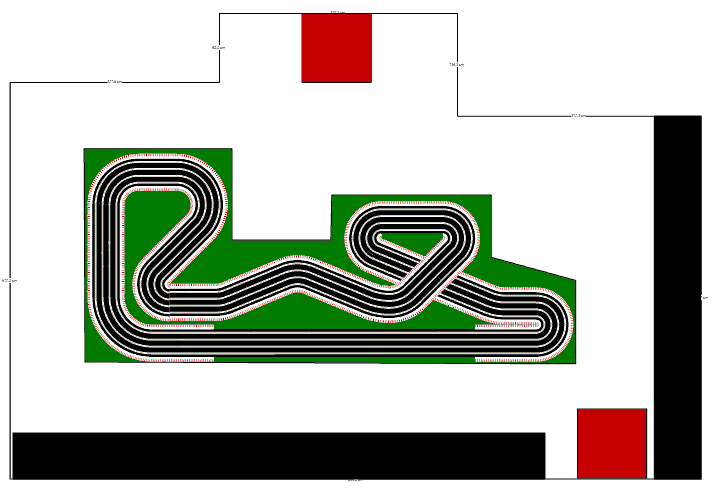
First we can delete the green access areas, as these are no longer necessary now we have the track layout in place.
![]() Then we can use the polygon tool to draw the table which will support the track. Click once at each corner point and double click to finish.
Then we can use the polygon tool to draw the table which will support the track. Click once at each corner point and double click to finish.
We'll choose the table colour by going to Circuit > Properties > Fill colour. Make sure to untick the No colour: transparent box and choose a colour.
![]() Then we'll put the table underneath the track using the Send to back tool
Then we'll put the table underneath the track using the Send to back tool
Lane Colours
Next we'll change the lane colours to the colours our club uses.
![]() First we go to View > Preferences and make sure that Show/Hide braids is unticked.
First we go to View > Preferences and make sure that Show/Hide braids is unticked.
![]() And that Lane colour is ticked.
And that Lane colour is ticked.
Next we select any track section and go to Circuit > Properties (or double click on a track section) and select the colours for each lane. Our club normally uses Green, White, Red and Yellow.
Adding Text
Next we'll add some text. There are two types of text we want to add.
- Simple explanations of the room elements for those members of our club who have not seen the new club room
- Corner numbers, so that we can discuss specific elements of the design more easily
![]() So using the Text tool we can insert text boxes. By right clicking and choosing Properties, or by double clicking we can change the font style, size, colour and background if necessary.
So using the Text tool we can insert text boxes. By right clicking and choosing Properties, or by double clicking we can change the font style, size, colour and background if necessary. 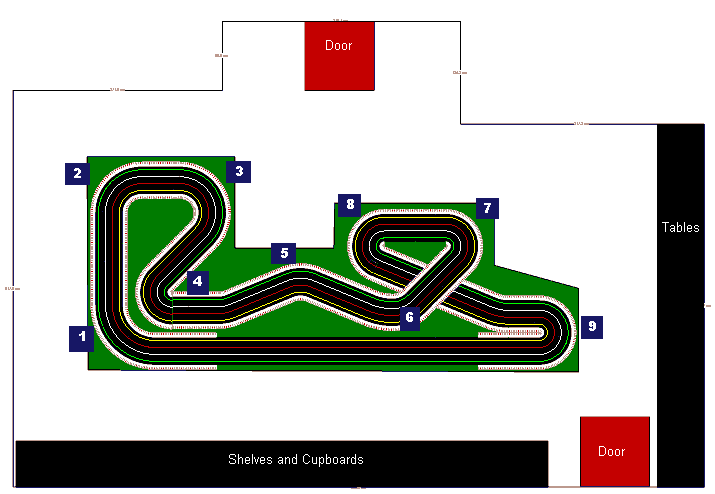
Driver positions
Finally we'll add the position of the drivers
![]() Here we've used the Ellipse tool to represent the drivers and set the colours and sizes using Circuit > Properties
Here we've used the Ellipse tool to represent the drivers and set the colours and sizes using Circuit > Properties
In the next part we'll look at how to publish and share the plan and how to plan the track build.