
Tutorial
Planning a Scalextric home track. Part 2
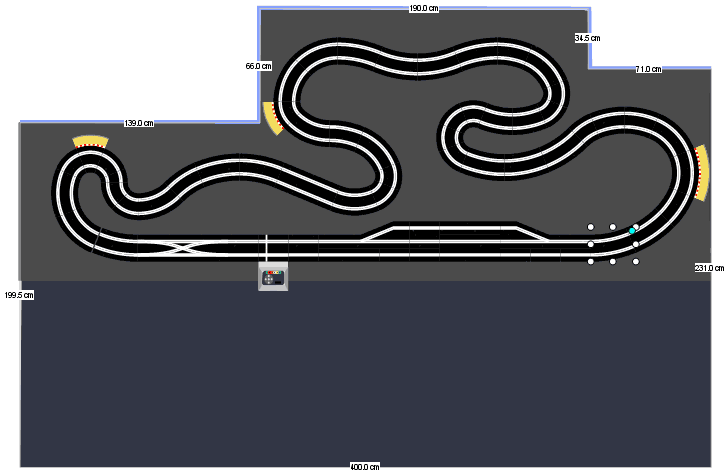
With my room layout completed, I can now move onto the track design itself.
As always, I'll start by listing some of the things I'd like to have in my layout....
- A pit lane
- A long straight
- Compound or parabolic curves
- Space for some scenery models
- A tight technical section
Let's lay some track
The first thing I'll do, is to add a single piece of track to the layout, and elevate it to the correct height, so that it sits on the table. Once this is done, any track that I add to that section will also be at the same height.
![]() First I'll click on the Select object layer tool which will hide all of my room objects for the moment and keep my workspace clean.
First I'll click on the Select object layer tool which will hide all of my room objects for the moment and keep my workspace clean.
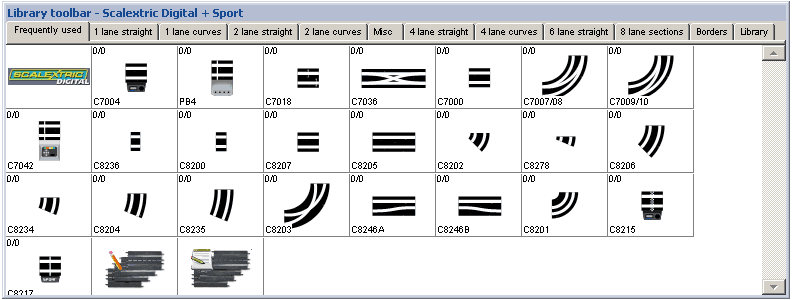
Then I'll add a C7042 Digital powerbase from Scalextric Digital + Sport Library toolbar.
![]() I'll switch on the Show elevations tool. This will show track elevations in a blue circle. At the moment though, there are no track elevations, so there is nothing to show
I'll switch on the Show elevations tool. This will show track elevations in a blue circle. At the moment though, there are no track elevations, so there is nothing to show
![]() Then I'll click on the Raise tool which allows us to elevate the track. When the Raise tool is selected a single click on any track section raises it by a single unit (2.5cm), a Ctrl click raises by 5 units (12.5cm) and a Shift click raises by 10 units (25cm).
Then I'll click on the Raise tool which allows us to elevate the track. When the Raise tool is selected a single click on any track section raises it by a single unit (2.5cm), a Ctrl click raises by 5 units (12.5cm) and a Shift click raises by 10 units (25cm).
![]() As you might expect, the Lower tool works in the same way, but decreases elevations
As you might expect, the Lower tool works in the same way, but decreases elevations
So by using the Raise tool I'll raise the track section to a height of 72.5cm , which is just slightly higher (0.5cm) than the surface of my table.
You can now see two blue circles showing the elevation at both ends of the track, in this case both are 72.5cm.
If you prefer to use inches rather than centimetres you can change the settings by going to View > Preferences > Grid and rotation settings and changing the Major Grid units to "in" or "ft"
Now with the track section selected I can start to add other track pieces and they will be set to the same height.
![]() Whenever I need to see the room objects I'll click on the Select object layer tool again
Whenever I need to see the room objects I'll click on the Select object layer tool again
Basics
The first two requirements for my track were a pit lane and a long straight, so I'll start by adding those.
With the powerbase section selected I add (in no particular order) some straights, a lane change straight, a pit in and pit out, and some one lane straights.

The track elevations are shown in the blue circles, and as you can see, all the track sections are at the corect height.
![]() I can now rearrange the track pieces using the Selection tool
I can now rearrange the track pieces using the Selection tool
![]() I can also switch off the Show elevations tool for now
I can also switch off the Show elevations tool for now

Building up the layout
Now I can start adding some corner pieces.
![]() First I'll click on the Select object layer tool so that I can see my room
First I'll click on the Select object layer tool so that I can see my room
![]() Next I'll use the Move a track section group tool to move my track pieces into position on the table.
Next I'll use the Move a track section group tool to move my track pieces into position on the table.
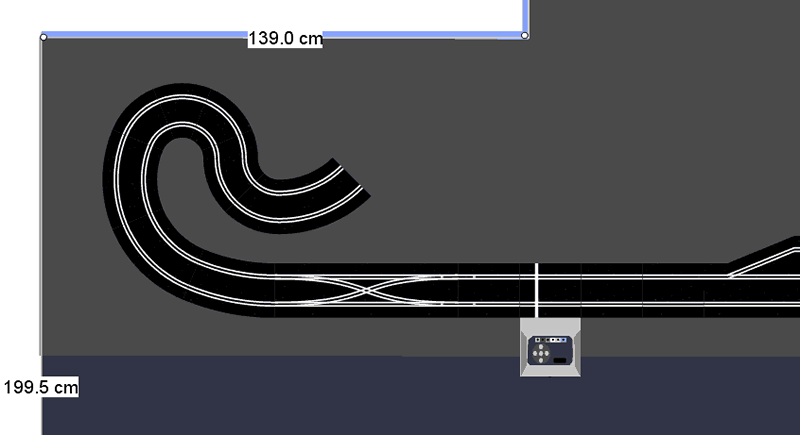
![]() Then I'll use the Fit to selection tool to zoom in on the left hand side of the layout. Click the tool then draw a selection around the space.
Then I'll use the Fit to selection tool to zoom in on the left hand side of the layout. Click the tool then draw a selection around the space.
![]()
![]() Using the Show track direction tool and the Reverse track section direction tool (if necessary) I make sure that the track direction is to the left
Using the Show track direction tool and the Reverse track section direction tool (if necessary) I make sure that the track direction is to the left
I can then select the left most track section and add my corners.
Before adding track sections you can see where they will be added by hovering over any section in the Library toolbar
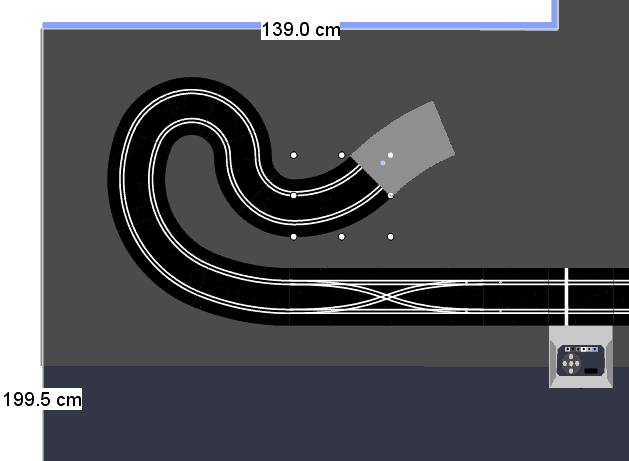
So gradually, by trial and error I build up my track.
I use the Track operations toolbar to replace, flip, and move track pieces until I'm happy with the layout.
![]()
![]()
![]() Where the track is close to the edge of my space, I'll add an outside border to make sure I have space for them.
Where the track is close to the edge of my space, I'll add an outside border to make sure I have space for them.
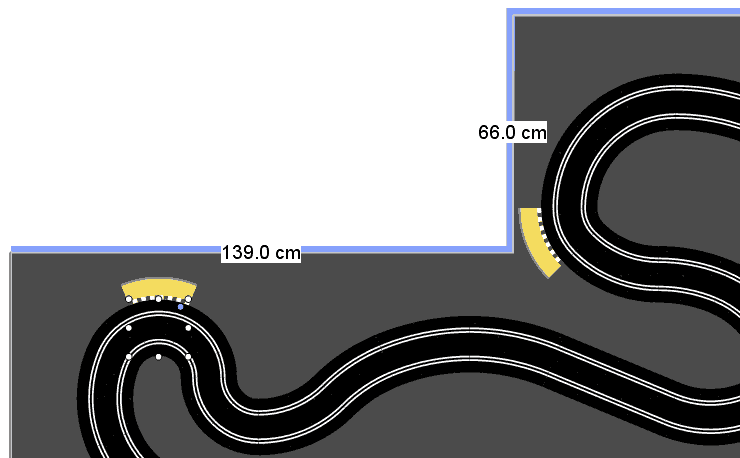
The final corner is usually the most difficult, as obviously it has to join up at the end, but after several attempts, I'm happy.
![]() If the track doesn't exactly join up, I could use the Gap suppressor tool which mimics the slight movement which is possible with plastic track
If the track doesn't exactly join up, I could use the Gap suppressor tool which mimics the slight movement which is possible with plastic track
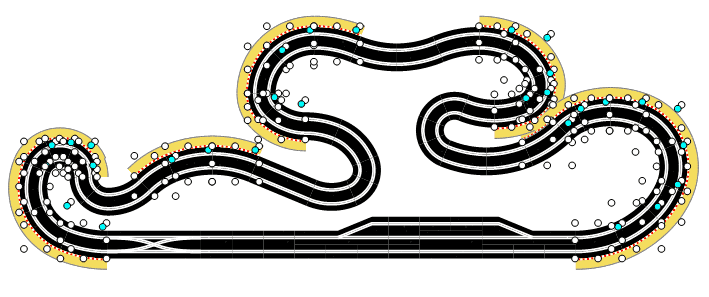
Adding Borders
I want to add borders to the outside of all corners, and to selected other places, such as the inside of R1 corners and to the first straight after a corner.
![]() So first I'll select all the right hand corners by Shift clicking with the Selection tool
So first I'll select all the right hand corners by Shift clicking with the Selection tool
![]() Then I'll click on the Left border tool to add an outside border to all those corners
Then I'll click on the Left border tool to add an outside border to all those corners
I can then repeat the process for all of the left hand corners, where I'll add right borders.
Then I'll select the other parts of the track individually and add borders as necessary.
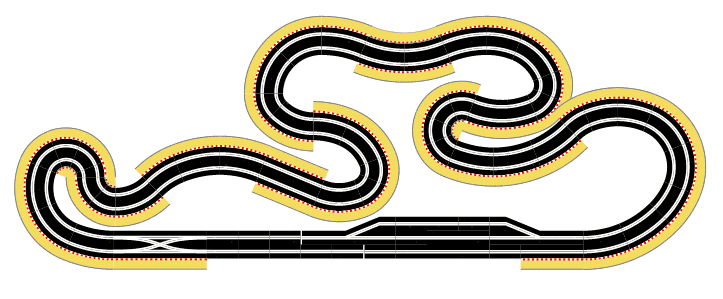
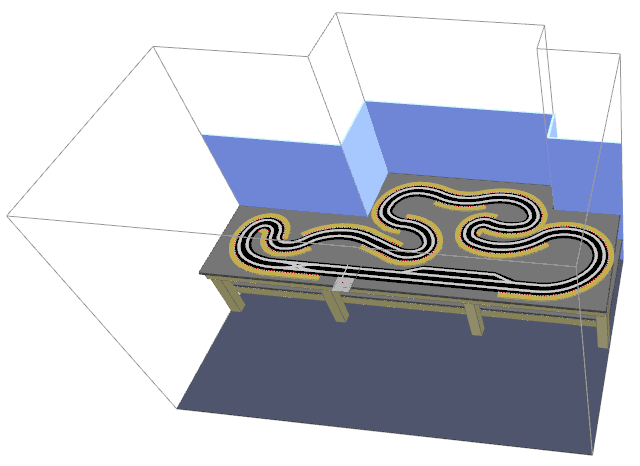
So that's my finished layout, all done apart from the scenery
![]() In 3d view
In 3d view
Save
I'll save the track layout with a new name so that my original room layout remains intact as a starting point for alternative layout designs.
In the next stage I'll start to add scenery