
Tutorial
Planning a Scalextric home track. Part 3
With my room and track layout completed, I can now move onto the trackside scenery.
I'm going to use two different approaches for building up the scenery on my track design. First, I'll use some of the 3d models which come with Ultimate Racer, then I'll also add some basic shapes and textures
3D Models
First I'll need to switch on the Scenery objects toolbar in the View menu
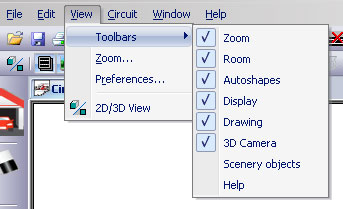
Scenery objects are divided into tabbed categories. The first two tabs (Accessories & Building) are 2d images, the rest are the 3d models which we'll be using here.
![]() Scenery objects are easier to add in the 2d view
Scenery objects are easier to add in the 2d view
The first 3d model I'll add is the Scalextric bridge. I hover over the Scalextric tab and click on the preview image to add the bridge to the layout.
3D models automatically adjust their own elevation to sit on top of any other objects, so in this case the bridge sits on the table top.
I can now move and rotate the model into position
![]() In 3d view
In 3d view

The other models I'll add here are...
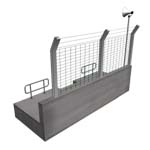
Pit Walls, from Slot Track Scenics
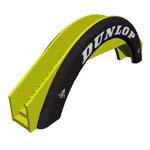
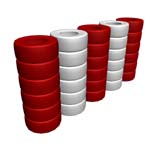
Tyre walls, also from Slot Track Scenics
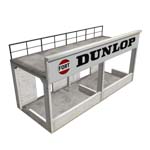
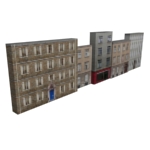
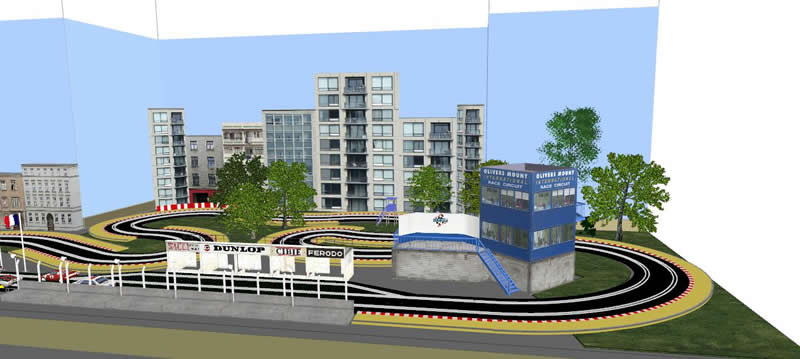
Pit Buildings, to represent a pit lane which I'll build myself. These models actually represent the pit buildings at Reims
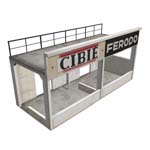
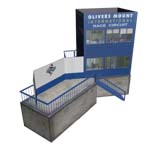
A Control Tower and Rostrum. This model is based on the Control Tower at Oliver's Mount
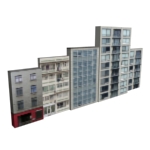
Background building facades, which will sit flat against the back wall
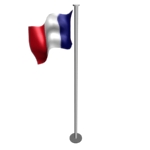
Flags

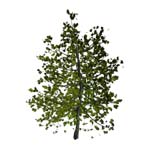
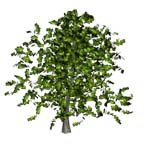
Trees
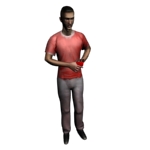
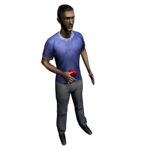
Full sized Drivers
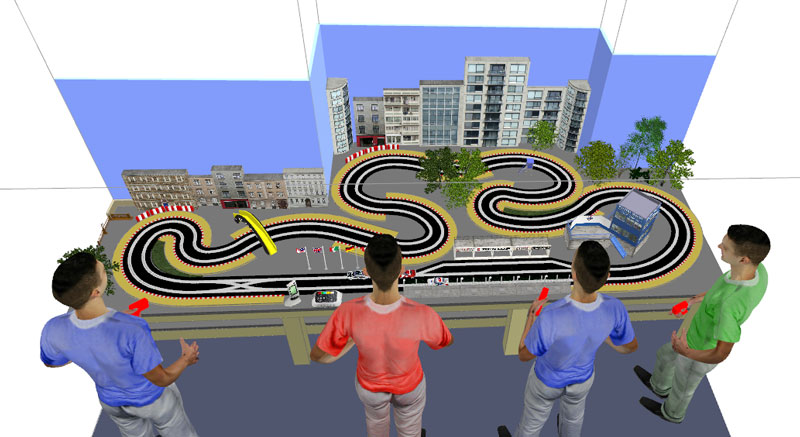
![]() My layout in 3d view with the models added
My layout in 3d view with the models added
Now the track layout is almost complete. There are just a few finishing touches I want to add.
Finishing touches
There are just two things I think my layout needs now, some areas of grass, and a couple of walls at the back.
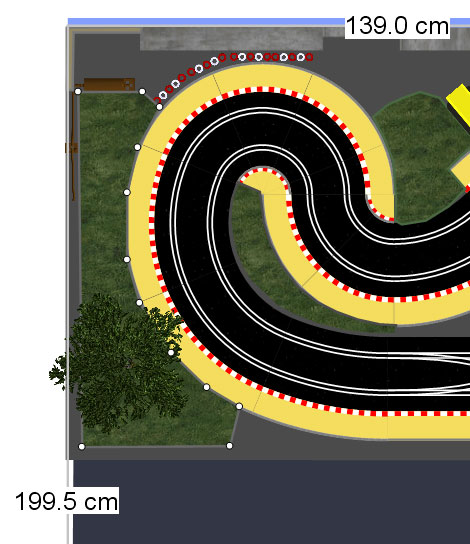
![]() I'll use the polygon tool to add these. I click on each point of the polygon, then twice to finish.
I'll use the polygon tool to add these. I click on each point of the polygon, then twice to finish.
This process might require a little more explanation. It can become a bit awkward if you're not careful. The problem is that unlike the 3d models, the basic shapes are added at ground level, so if you're not careful, they'll just disappear under the table and you'll have to start moving things out of the way to find them.
The way to get around this is to move the polygon (or any other shape) off to one side as soon as you've drawn it. Don't click anywhere else, the polygon will disappear under the table. As soon as you've finished drawing the shape drag it away from the other objects.
![]()
![]() Then you can use the Show elevation tool and the Raise tool to set the elevation of the shape. In this case, I've set the elevation to 70cm and used the Properties box to set the height to 2.5cm so that the total elevation will be 72.5cm, just slightly higher than the surface of the table which is 72cm.
Then you can use the Show elevation tool and the Raise tool to set the elevation of the shape. In this case, I've set the elevation to 70cm and used the Properties box to set the height to 2.5cm so that the total elevation will be 72.5cm, just slightly higher than the surface of the table which is 72cm.
Whilst I'm using the Properties panel I've also set the Fill Colour to use a grass texture.
Now I can move the shape back onto the table, and because it's now at a greater elevation than the table it won't disappear..
Now all I need to do is repeat the process for all the grass areas, and use the same process to put in some walls at the back.
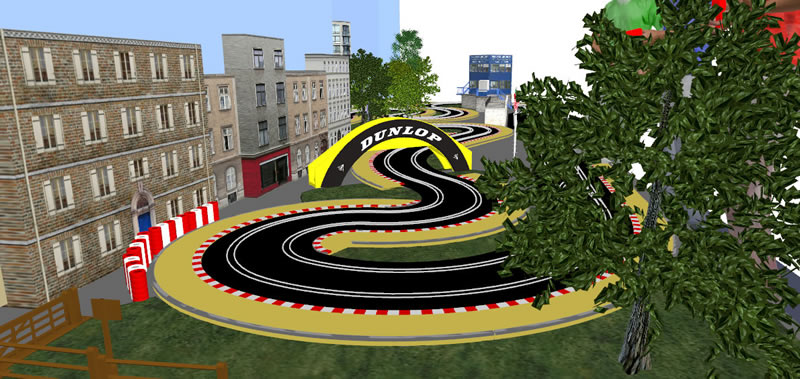
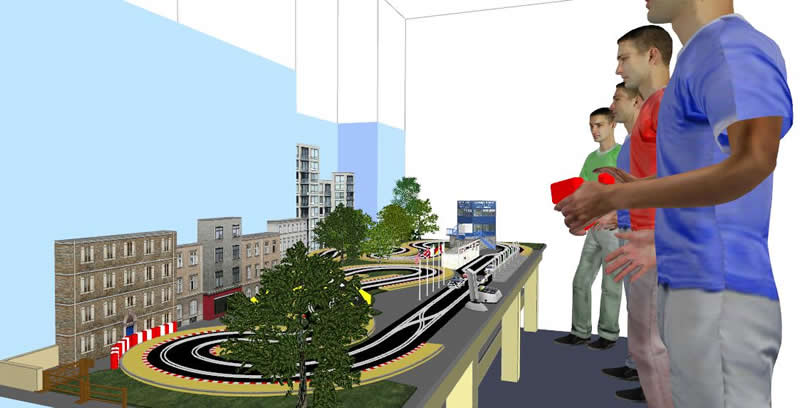
![]() 3d view
3d view
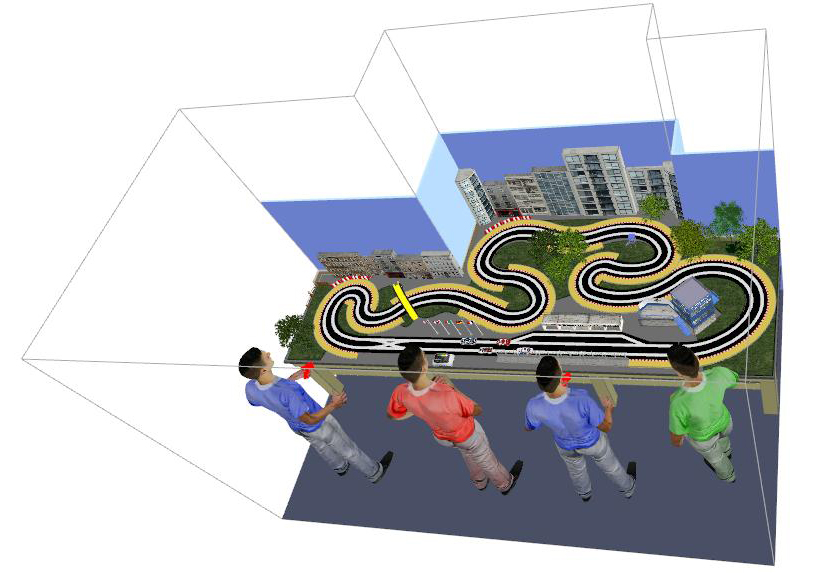
Finished 3d layout

That's all
My track layout design is now finished